Three ways to lose detail
Encoder quality, resolution, and pixel blocks affect an image differently. Use them separately before combining them.
A practical low-fi guide
There is more than one way to make an image look worse. Use the editor to choose whether you are removing detail, shrinking resolution, or adding visible artefacts.
No account, watermark, or upload queue. The file never leaves your browser.
Waiting for an image
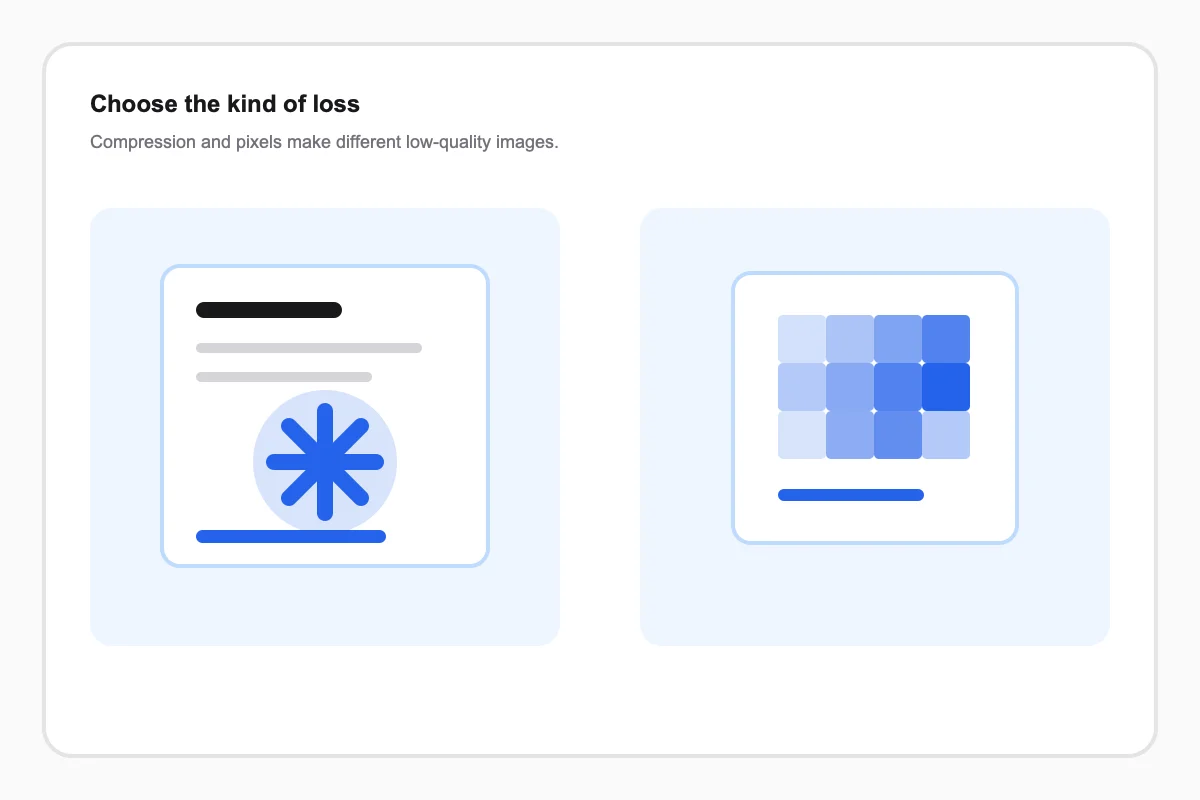
Making an image low quality is a visual decision before it is a technical one. Lowering encoder quality creates compression artefacts, resizing removes detail, and pixelation changes the shape of that detail. Each produces a different kind of bad image.
Use the smallest change that creates the look you want. A low byte count alone does not guarantee a good low-fi result.
Every control changes a different kind of image loss, so you can choose the trade-off instead of guessing.
Encoder quality, resolution, and pixel blocks affect an image differently. Use them separately before combining them.
Keep the source visible while you judge text, faces, edges, and the overall silhouette.
A preset gives you a coherent first move, then every control remains available for a deliberate second pass.
Start with the least destructive method that matches your goal. Add pixelation or colour push only after you have a useful compressed baseline.
Use quality for compression artefacts, max edge for missing detail, and pixels for blocky geometry.
Check faces, text, logos, and sharp diagonal lines before making a second pass.
Download only after the output looks intentionally imperfect rather than accidentally broken.
Start from a known outcome, then change one control at a time while the original stays visible.
Choose a starting point based on the result you need, then inspect the detail that matters before exporting.
JPEG-style artefacts
Start with
Lower Quality
Watch for blockiness around high contrast edges.
Less visual detail
Start with
Lower Max Edge
Watch for text becoming unreadable.
A blocky visual language
Start with
Raise Pixel Blocks
Watch for the main silhouette staying clear.
A loud meme finish
Start with
Deep Fried
Watch for saturation clipping.
Use the focused guide when the next image needs a different kind of loss.