Useful starting budgets
Try 100 KiB for small supporting images, 200 KiB for typical content visuals, and 500 KiB when a larger image needs more visible detail.
Start with a useful file-size budget, keep only the detail people can see at the final display size, and inspect the result before it reaches your site.
Your image stays on this device
No account or watermark
Start from a byte budget, then inspect detail at the size people will actually see.
JPG, PNG, or WebP up to 25 MiB. It stays on your device.
Waiting for an image
Web compression is about delivering a useful image with less transfer cost, not making it visibly worse for its own sake. Start with 100 KiB for small supporting visuals, 200 KiB for many content images, or 500 KiB when a larger, detailed image earns the bytes. Those are starting budgets, not universal promises: the right result depends on where and how large the image appears.
Set display dimensions before chasing a lower quality number. An image that is too large for its rendered space wastes bytes before compression begins.
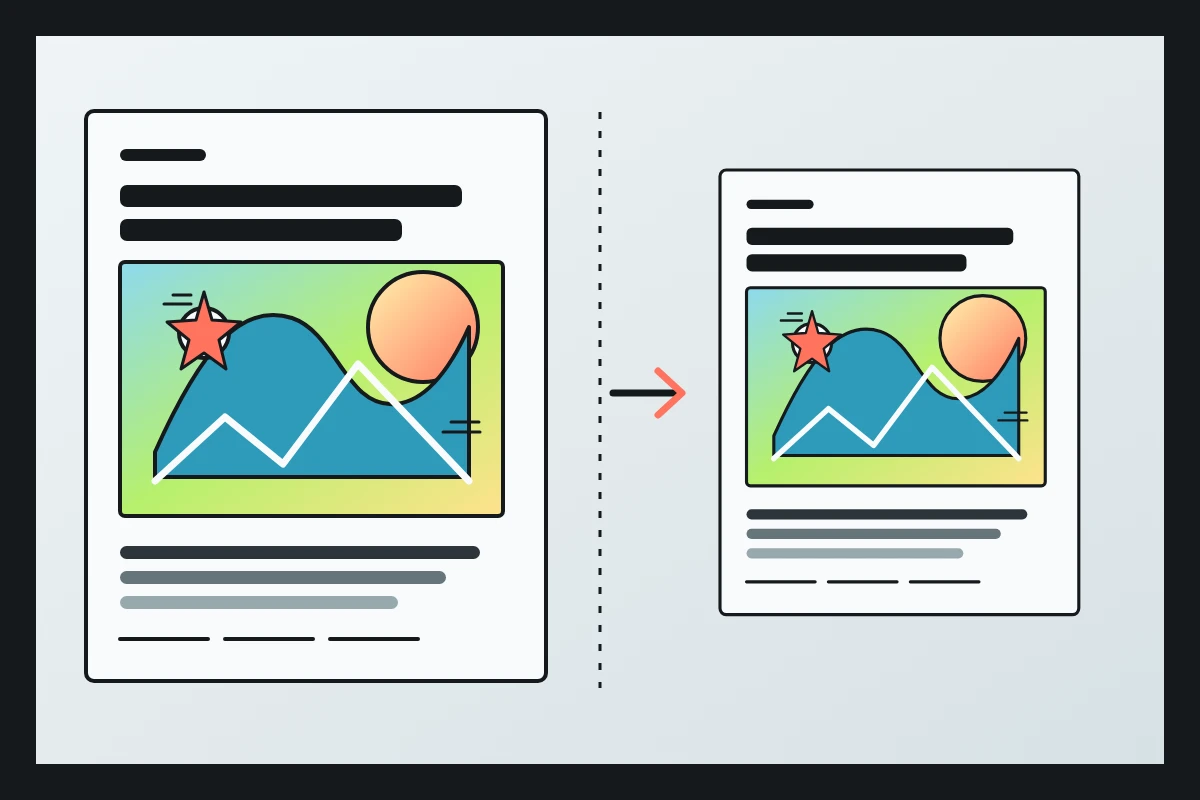
A file-size target gives you a clear first constraint. Use display dimensions and format choice to preserve useful detail inside it.
Try 100 KiB for small supporting images, 200 KiB for typical content visuals, and 500 KiB when a larger image needs more visible detail.
Set the max edge near the largest rendered size you need, accounting for high-density screens instead of exporting the full camera image.
Compare JPEG and WebP on the actual image. The better choice depends on its detail, transparency needs, and browser support requirements.
Start with the space the image occupies on the page, choose a byte budget, and compare the compressed export before changing anything else.
Choose a max edge that fits the largest place the image appears instead of keeping pixels visitors will never see.
Use 100 KiB, 200 KiB, or 500 KiB as a starting target based on the image role, then let the image content guide the closest practical result.
Compare text, sharp edges, and smooth gradients at the intended display size. Try JPEG and WebP before accepting a smaller file.
These budgets are starting points, not universal promises. Compare the final image where people will actually see it.
Start at 100 KiB for a compact card, thumbnail, or supporting image, then check whether labels and edges still read clearly.
Start at 200 KiB for a common content image. Match its max edge to the article layout before lowering encoder quality further.
Start at 500 KiB when a larger visual has gradients, text, or fine textures that need more room to remain useful.
Check the export at the largest likely display size. A good mobile result can still look soft in a wider desktop slot.
Choose a practical target, set dimensions for the rendered space, then lower quality only enough to work toward it.
The editor stays in your browser. These answers cover file budgets, display size, format choice, and the final visual check.