A block size you can judge
Raise Pixels in small steps. Each increase removes more fine detail and makes the image read as a clearer grid of colour blocks.
Choose the size of the blocks before you change anything else. A good pixelated image simplifies detail while the main subject still reads at a glance.
Your image stays on this device
No account or watermark
Start from Pixelated, then adjust block size around the details that need to remain recognisable.
JPG, PNG, or WebP up to 25 MiB. It stays on your device.
Waiting for an image
Pixelation replaces small variations in an image with larger square areas of colour. That can make a scene feel like game art, a low-resolution screen, or a deliberate graphic treatment. It works best when the source has a strong subject and clear contrast between that subject and its background. Fine lines, small faces, and tiny type disappear quickly because there are not enough blocks left to describe them.
Pixelation is a visual effect, not a method for redacting, anonymising, or securely hiding sensitive information.
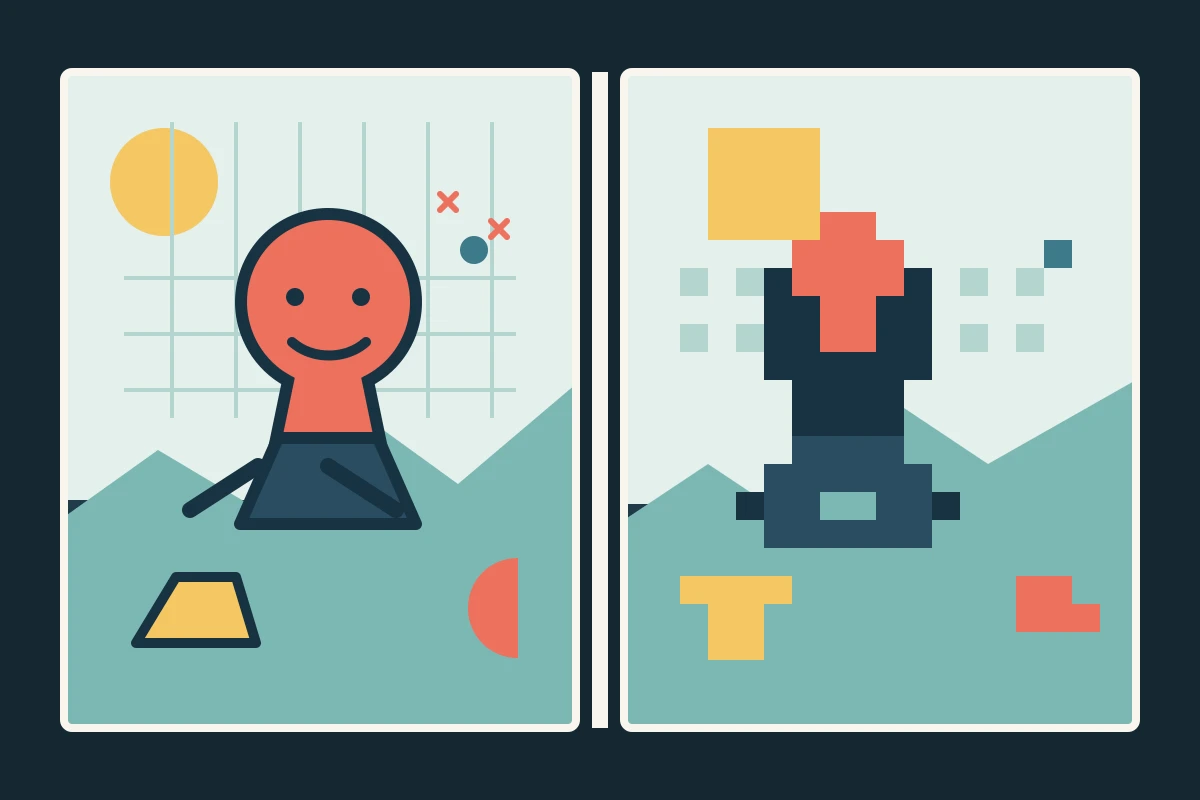
Pixelation redraws fine detail as a smaller set of flat blocks. Start with the block size, then protect the shapes that make the image readable.
Raise Pixels in small steps. Each increase removes more fine detail and makes the image read as a clearer grid of colour blocks.
Keep the largest contour, gesture, or object boundary clear before deciding whether the smaller texture still adds anything useful.
Check thin strokes, diagonals, labels, and logos early. They often need smaller blocks or a cleaner source area to remain legible.
Choose a source with a clear subject, apply Pixelated, then raise the block size only until the image gets the graphic structure you want.
Start with the face, object, pose, or boundary that must still be recognisable after fine detail becomes blocks.
Apply Pixelated, then use a moderate pixel block before moving higher. Compare the subject with the background at the size it will be seen.
Check small labels, eyes, thin lines, and diagonals. Pull the block size back when those details are needed for the image to make sense.
Pick the visual role first, then choose a block size that keeps the main silhouette, edges, and any necessary type clear enough.
Use medium blocks to turn an illustration or photograph into a limited-detail composition while preserving the subject silhouette.
Keep large type and major shapes well separated, then choose a block size that makes the grid part of the graphic language.
Start with a composition that has clear light and dark areas. Pixelation reads more intentionally when the broad value pattern survives.
Use Pixelated when geometry is the joke. Choose Deep Fried instead when clipped colour, noise, and compression damage should be the focus.
Increase Pixels until small detail becomes a graphic pattern, then stop while the subject still separates cleanly from its background.
The editor runs on this device. These answers cover block size, readable type, fine details, and the limits of a visual effect.