Compression you can inspect
Lower encoder quality to create smaller files and visible artefacts, then compare the result instead of guessing from a number alone.
Make a low quality image from any JPG, PNG, or WebP without uploading it. Choose a preset, compare the result with the source, and keep only the detail you mean to lose.
Your image stays on this device
No account or watermark
Start with a preset, then adjust compression, dimensions, or pixel blocks. The original stays on this device.
JPG, PNG, or WebP up to 25 MiB. It stays on your device.
Waiting for an image
A low quality image maker should give you a visible choice, not just a smaller file. Lower encoder quality creates the smearing and block artefacts associated with heavy compression. Reducing dimensions removes fine detail while preserving smoother shapes. Pixel blocks turn that detail into a deliberate graphic texture. These methods can be combined, but they should begin with the look you want rather than an arbitrary percentage.
Check faces, text, logos, and high-contrast edges before exporting. They reveal unwanted loss earlier than large flat areas.
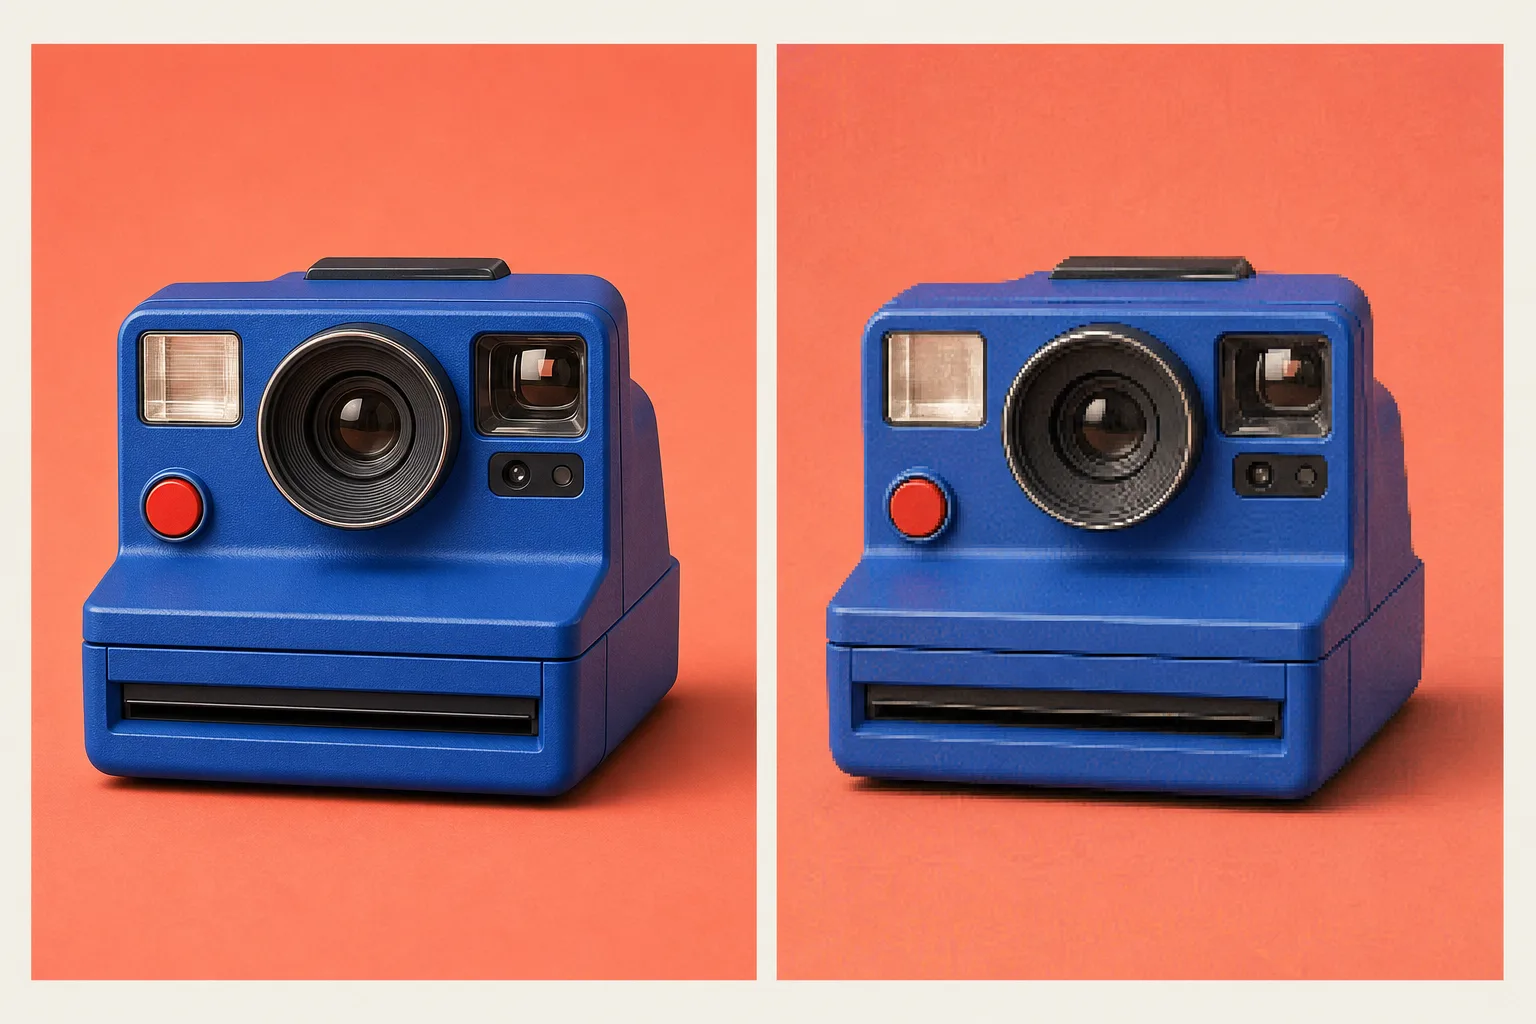
Compression, dimensions, and pixel blocks remove different kinds of information. Start with the change you actually want to see.
Lower encoder quality to create smaller files and visible artefacts, then compare the result instead of guessing from a number alone.
Reduce the maximum edge when the image will appear smaller or when fine detail should disappear without turning the whole image into blocks.
Increase pixel blocks when a chunky silhouette or retro texture is the point, then stop while the subject still reads clearly.
Choose the kind of loss first, inspect the image where it is most vulnerable, then export only when the result looks deliberately low-fi instead of accidentally damaged.
Drop, choose, or paste a JPG, PNG, or WebP file. It stays in the current browser session.
Start with Quick Compress, then use quality, max edge, or pixels for the visual change you want to make.
Compare the source and output, check the file size, and download only the version that keeps the right amount of imperfection.
Pick a practical starting point, inspect the parts that matter, then make one more adjustment only when it supports the same result.
Use Quick Compress when a message or form needs a lighter attachment and the subject can tolerate a modest loss of detail.
Begin with Pixelated when blocks are part of the composition, then keep the main shape readable at the final display size.
Lower quality first for crunchy compression artefacts, then add a small amount of colour or noise only if it supports the same texture.
Reduce dimensions for a lightweight reference image when you need the broad composition rather than every original pixel.
File size can fall for several reasons. Choose whether you want compression artefacts, less fine detail, or a deliberately blocky surface before moving every slider.
Your source, preview, and export stay in this browser session. These answers explain what each type of quality loss changes.